鐵人賽2019 Day17 Geogig GIS版本控制

  1. 1. 安裝
  2. 2. 初始化
    1. 2.1. 如果要update資料
  3. 3. 基本資訊
  4. 4. 後記

今天的主題與Python較於無關,這陣子遇到資料版本控制的需求,有搜尋並測試了一下geogig這個軟體,在此稍微紀錄一下。

geogig是個開源專案,使用JAVA開發並以BSD授權,主要目的是做GIS資料的版本控制,整個操作經驗與git類似,支援的GIS資料包含shapefilePostGISSpatiaLite等,對每一次commit的GIS追蹤管理,也可對資料開分支、遠端分支等等功能。

今天就記錄一下比較基本的步驟。

安裝

Geogig官網以包好exe,前往官網下載
GeoGig by LocationTech

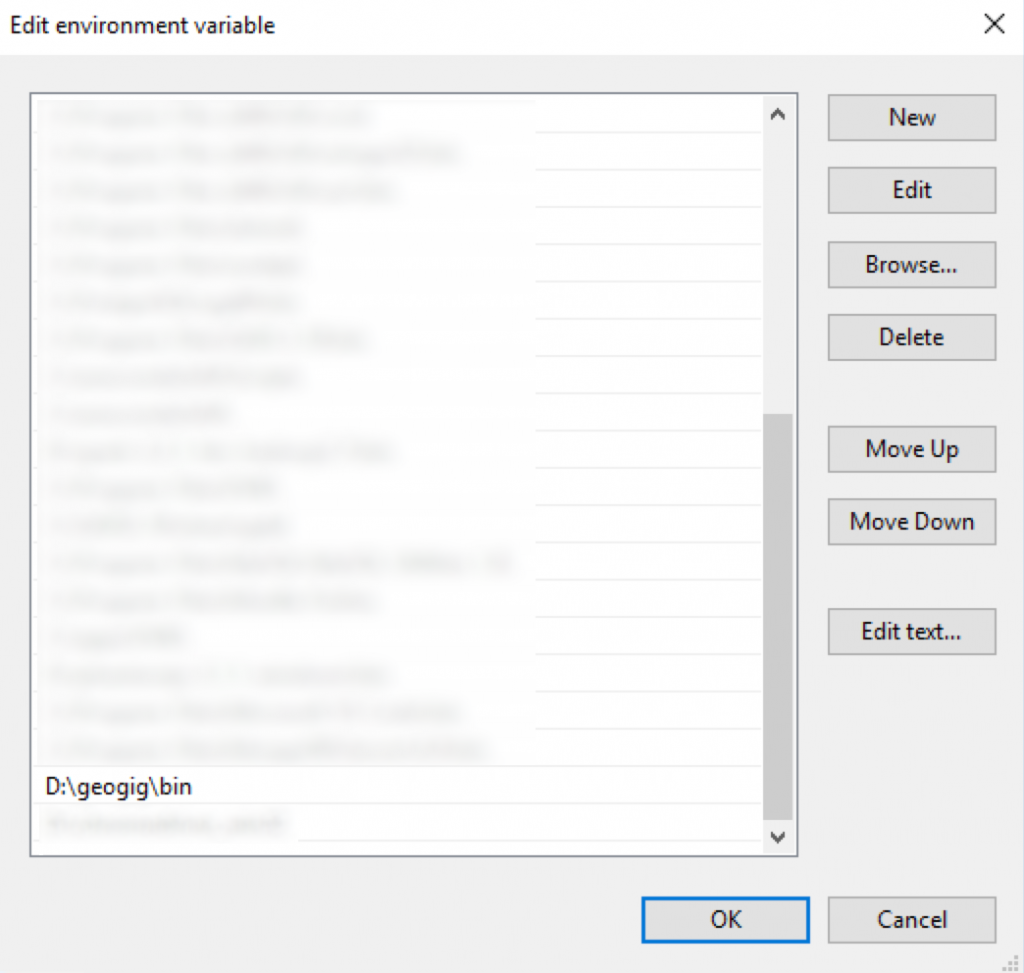
解壓縮到D:\後,把路徑加入系統環境變數
https://ithelp.ithome.com.tw/upload/images/20181101/20107816ZpA7vOTKYw.png

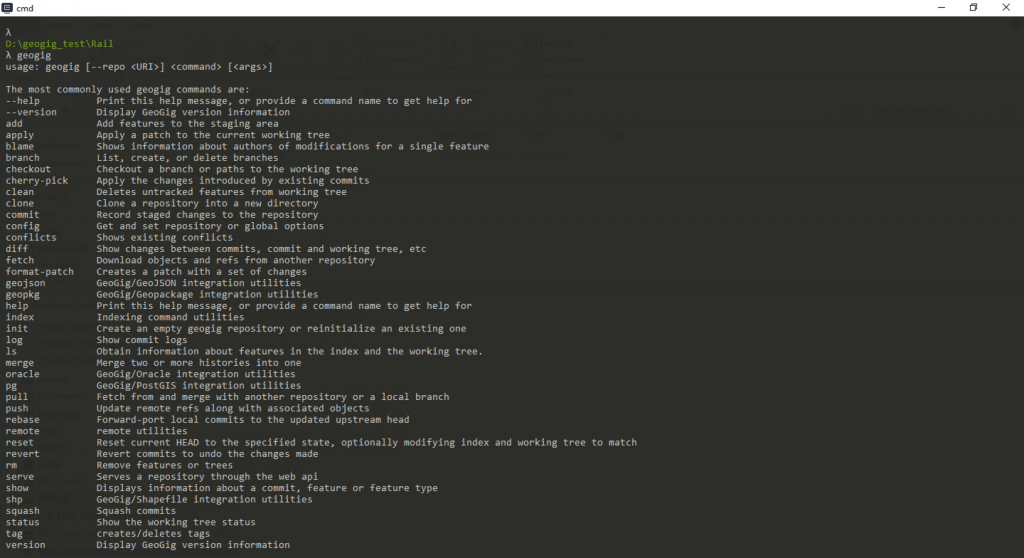
我們測試一下,打開cmd

1
geogig

https://ithelp.ithome.com.tw/upload/images/20181101/20107816eeZKSoSSFH.png

設定好路徑並有反應了,我們可以開始操作Geogig了

初始化

初始化一個repo,這邊的初始化跟git一樣:

1
geogig init

https://ithelp.ithome.com.tw/upload/images/20181101/20107816dFbuNcWgzo.png

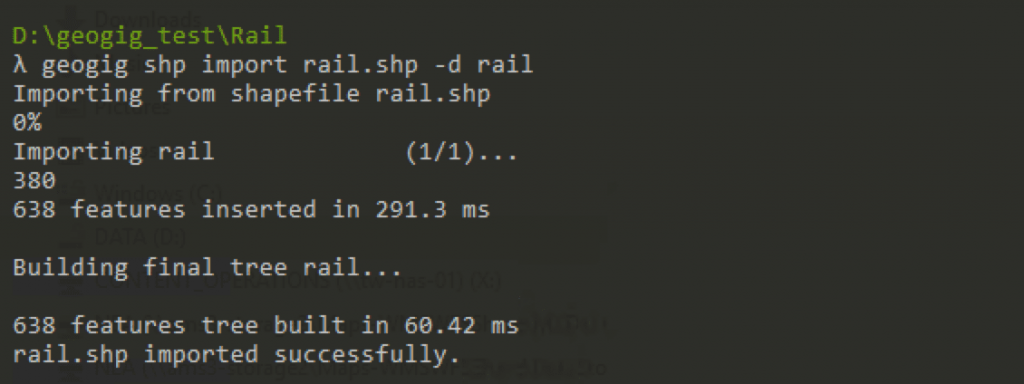
我們把rail.shp加入一個commit,在這之前要先用shp import

1
geogig shp import rail.shp -d rail

https://ithelp.ithome.com.tw/upload/images/20181101/20107816t4swAL4Khq.png

上面的import跟一般git比等於是多一步,import之後可以add,這個動作跟git add .一樣

1
geogig add

https://ithelp.ithome.com.tw/upload/images/20181101/2010781607eqR3FT2S.png

然後,就可以commit了,這邊的commit跟git也是一樣的

1
geogig commit -m "init"

https://ithelp.ithome.com.tw/upload/images/20181101/20107816SIvZ7BhaLV.png

這邊操作的時候跳了一個錯,因為第一次操作時,Geogig會要求輸入user config,跟git一樣,如果遇到就這步驟設定就好了
https://ithelp.ithome.com.tw/upload/images/20181101/20107816o0W9mwq8HQ.png

成功操作
https://ithelp.ithome.com.tw/upload/images/20181101/201078162awtAJfyOk.png

如果要update資料

我們進入QGIS給資料一些異動,
我們直接修改資料的屬性(修改數筆DEFINITION)
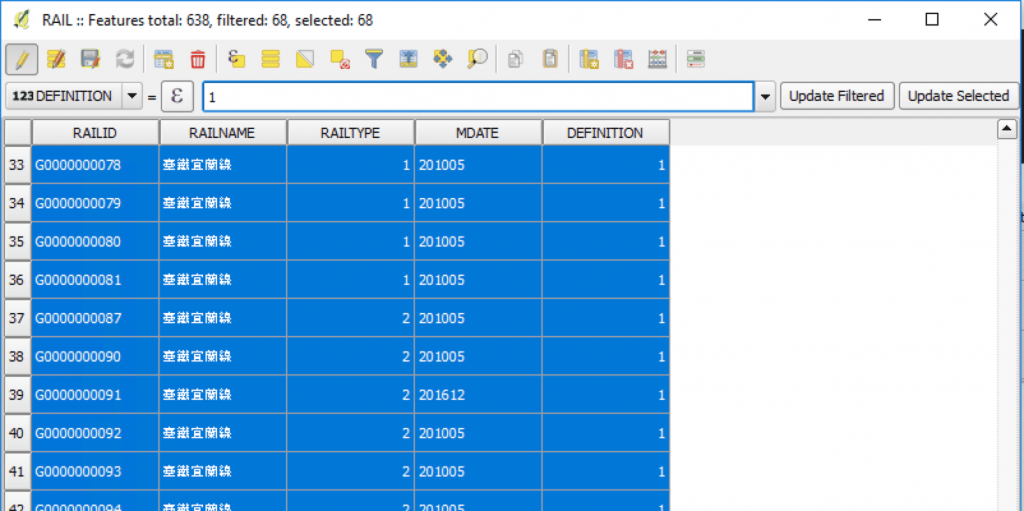
https://ithelp.ithome.com.tw/upload/images/20181101/20107816DS6120zyr4.png

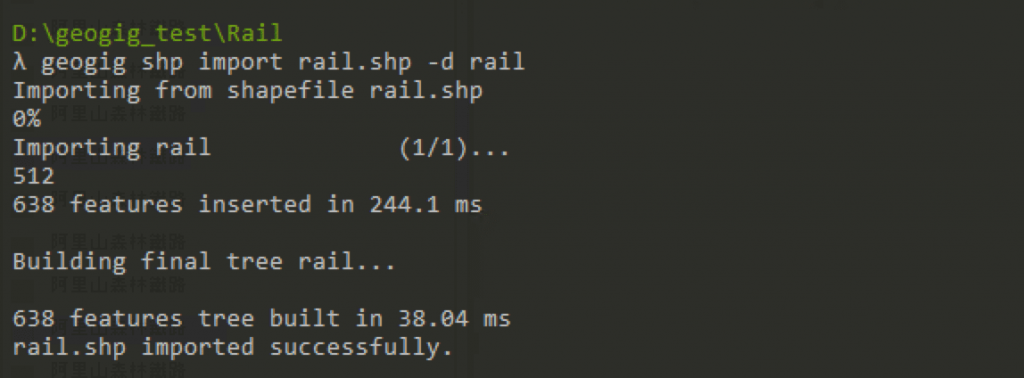
要再提供一次commit 要把shp importadd 在操作一次

1
geogig shp import rail.shp -d rail

https://ithelp.ithome.com.tw/upload/images/20181101/20107816Z0N6bHF8M6.png

add,這邊可以看到一些異動資訊

1
geogig add

https://ithelp.ithome.com.tw/upload/images/20181101/20107816CwndjHznwy.png

commit,然後第二個版本的資料就被記錄上去了

1
geogig commit -m "second round"

https://ithelp.ithome.com.tw/upload/images/20181101/20107816Mdho2Be8Ne.png
從上可以看到版本間的異動

基本資訊

接下來來看看repo與commit的資訊

觀看repo內容用ls
看到目前的repo中的資料集

1
geogig ls

https://ithelp.ithome.com.tw/upload/images/20181101/20107816gy7HGRq5Bm.png

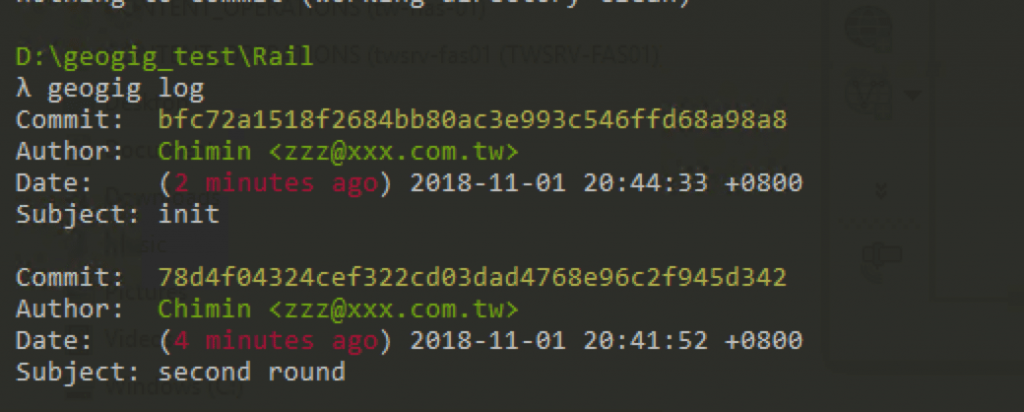
log 看版本的歷史過程

1
geogig log

https://ithelp.ithome.com.tw/upload/images/20181101/201078161GJXrFm6mZ.png

後記

Geogig在QGIS與Geoserver有外掛可以使用,今天先以git的觀點進行基本操作,有興趣者可操作看看!